
Uncomplicated Firewall
2022-8-16 About 4 min
# Uncomplicated Firewall
When we talk about security, it's hard to leave a firewall out of the story. Our firewall is going to give us protection between two networks. We all have one at home in the form of our NAT router.
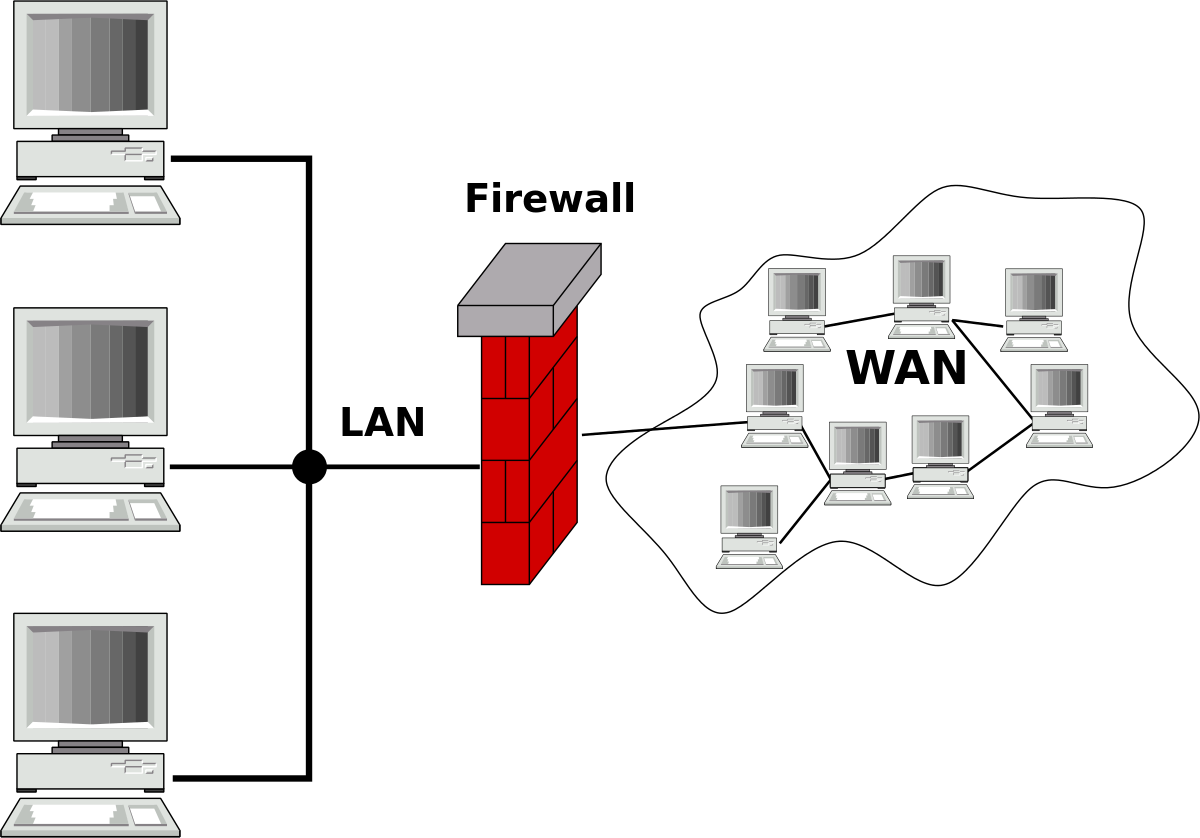
We can actually (briefly) talk about 2 types of firewall:
- A network firewall: usually physical between the LAN and WAN.
- A system firewall: this is located on a PC or server.
We are talking about the latter in this course. We want to be able to shield unsolicited network traffic to/from our server. There are a number of available applications to assert firewalls in Ubuntu, but some complexity appears to be present. Linux itself has a built-in filter: "iptables". iptables is the core of the network stack on our Linux server. It manages all routing of network traffic. In recent versions of Debian and Ubuntu, the iptables net filter has been replaced by "nftables."
iptables has several routing stages and tables that you can set rules on. The Arch Linux wiki (opens new window) contains an overview of these tables.
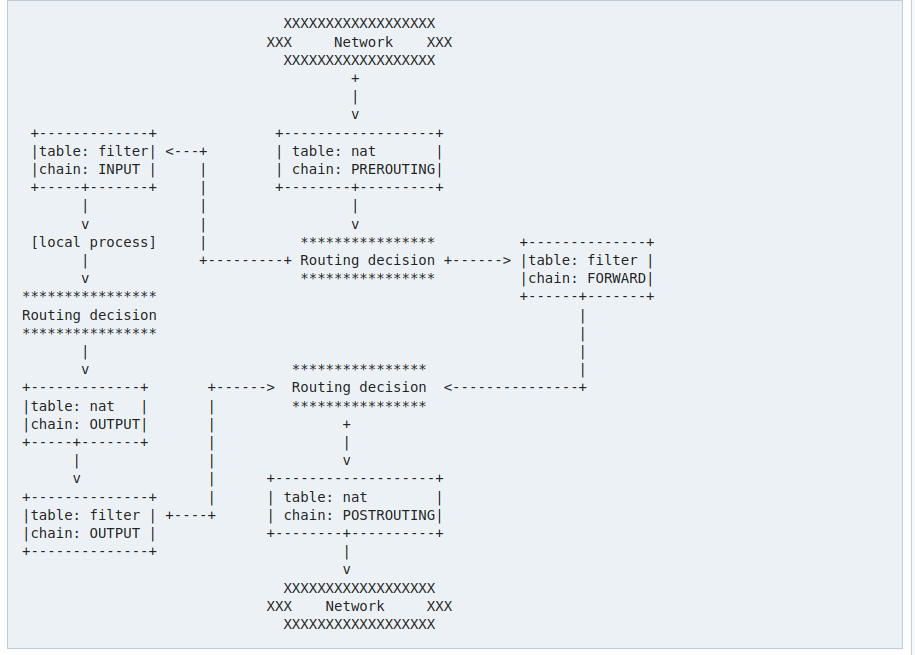
iptables is also stateless by default, a reboot resets all rules set. Along with a complex command line interface, it is enormously difficult to configure iptables correctly.
Therefore, in this course we prefer to look at a commonly used tool that does all the hard work for us!
# Uncomplicated Firewall
One of the most widely used host-based firewalls in Ubuntu is the Uncomplicated Firewall (UFW) because of its powerful functionality and easy usability. UFW was added in Ubuntu 8.04 as a firewall interface on top of iptables.
note
We are looking at IPv4 firewall rules in this course, the syntax for IPv6 is similar.
# Installation
We install UFW via apt:
sudo apt update
sudo apt install ufw
1
2
2
We now check to see if UFW is active:
sudo systemctl status ufw
1
We now get normal that our service is "active" from systemd.
$ sudo systemctl status ufw
● ufw.service - Uncomplicated firewall
     Loaded: loaded (/lib/systemd/system/ufw.service; enabled; vendor preset: enabled)
     Active: active (exited) since Tue 2022-02-15 12:54:57 CET; 28min ago
       Docs: man:ufw(8)
   Main PID: 760 (code=exited, status=0/SUCCESS)
      Tasks: 0 (limit: 38094)
     Memory: 0B
        CPU: 0
     CGroup: /system.slice/ufw.service
1
2
3
4
5
6
7
8
9
10
2
3
4
5
6
7
8
9
10
We are now ready to configure the firewall!
# Configuration
Configuration we are going to do mainly through the commandline itself, but we need to double check 1 value.
UFW has default configuration for first use defined in /etc/default/ufw.
sudo nano /etc/default/ufw
1
The default configuration is good for us but we want to check 1 value:
IPV6=yes
1
We do not have IPv6 on our servers but we want there to be an IPv6 firewall. This is fundamental because otherwise our firewall can be worked around from the moment we support IPv6 and thus unexpectedly have our firewall effectively disabled. So we want to avoid this.
# Default policies
Before activating our firewall we want to set the "default policies". These policies are the default values for our traffic for which no specific rules are written. We want to do 2 things:
- deny all incoming connections
- thus avoiding connections to server applications we don't want to open up
- allow all outgoing connections.
- so we allow our software to still connect to the internet
sudo ufw default deny incoming
sudo ufw default allow outgoing
1
2
2
# Setting rules
Firewall rules can be done via the command line with the ufw command. The syntax is quite simple and very flexible.
For example, if we want to allow a service we can use the name:
sudo ufw allow ssh
1
UFW is going to allow ssh from all IPs to all IPs on your server, UFW knows by /etc/services that this is an SSH service on TCP port 22.
We can also write this as
sudo ufw allow 22
1
This works for 1 port, we can also immediately allow a range with a :. For example
sudo ufw allow 6000:6007
1
We can also limit to TCP or UDP:
sudo ufw allow 22/tcp
sudo ufw allow 53/udp
1
2
2
The above rules are the most commonly used, they allow traffic on a port from any IP address. We can also go limiting that:
sudo ufw allow from 193.191.186.132 to any port 22
1
The from part tells which source IP is allowed. The to part indicates to which IP (in this case any of our interfaces) and port 22.
We can also allow a subnet:
sudo ufw allow from 10.2.0.0/16 to any port 22
1
The same is possible in reverse, suppose we want to ban a particular IP address we can write this:
sudo ufw deny from 192.168.20.1
1
# Initial Configuration
Now that we know how the UFW syntax works we can configure the firewall. before we turn on our firewall we need to make sure we can still log in ourselves. So first we are going to allow the SSH service. We also set HTTP and HTTPs to be open to the world.
The last step is to set the firewall to active with ufw enable:
sudo ufw default deny incoming
sudo ufw default allow outgoing

sudo ufw allow ssh
sudo ufw allow http
sudo ufw allow https
sudo ufw enable
1
2
3
4
5
6
7
2
3
4
5
6
7
(ufw disable disables our firewall, not recommended just for your information)
We now check the status with
sudo ufw status
1
We see that our firewall is set to active and we also get a list of all our firewall rules.
$ sudo ufw status
Status: active

To Action From
-- ------ ----
22/tcp ALLOW Anywhere
80/tcp ALLOW Anywhere
443 ALLOW Anywhere
22/tcp (v6) ALLOW Anywhere (v6)
80/tcp (v6) ALLOW Anywhere (v6)
443 (v6) ALLOW Anywhere (v6)
1
2
3
4
5
6
7
8
9
10
11
2
3
4
5
6
7
8
9
10
11
# Customize Firewall
If we want to modify a rule we need to delete it with ufw delete and create it again.
Deleting can be done in two ways:
sudo ufw status numbered
1
$ sudo ufw status numbered
Status: active

     To Action From
     -- ------ ----
[ 1] 22/tcp ALLOW IN Anywhere
[ 2] 80/tcp ALLOW IN Anywhere
[ 3] 443 ALLOW IN Anywhere
[ 4] 22/tcp (v6) ALLOW IN Anywhere (v6)
[ 5] 80/tcp (v6) ALLOW IN Anywhere (v6)
[ 6] 443 (v6) ALLOW IN Anywhere (v6)
1
2
3
4
5
6
7
8
9
10
11
2
3
4
5
6
7
8
9
10
11
This gives us all the lines with numbers. We can now remove a particular line by say:
sudo ufw delete 6
1
We can also delete a rule by repeating the rule but putting ufw delete before it.
For example:
sudo ufw delete allow https
1